Read the other parts of “Yocto and WSL” series:
Yocto? On WSL2? Easier than you think!
Yocto and WSL, part 3: WSL vs. VMWare
So, in the previous part, we got the Yocto built with WSL and tested it out with a text-based terminal interface. This time we’re going to improve things a bit by getting the graphics working! Like every engineer always says, “it’s really nice to have this fancy graphical interface with buttons that have rounded corners instead of an efficient, text-based interface”.
(After publishing this text it was brought to my attention that WSL on Windows 11 actually supports GUI applications natively. I’m not sure how this works with QEMU but I’d recommend trying that out before going through all the hassle mentioned in this text. If you’re still stuck on Windows 10 like me these steps are at least currently applicable)
The process of getting graphics up and running in the WSL consists of three steps:
- Make a hole into the Windows firewall (starts promisingly) so that WSL can communicate with an X server
- Launch an X server with the access control disabled (this sounds great as well)
- Set the environment variables in WSL

The instructions I used to achieve this can be found in this great blog post. However, for the sake of documentation and out of the fear of broken hyperlinks, I’ll go through the steps here as well.
The hole in the firewall needs to be made because the networking in WSL2 is implemented in a way where the traffic is considered to be coming from an external source (as opposed to WSL1). The firewall rule can be set using the following steps:
- Search “Windows Defender Firewall with Advanced Security” from the Start Menu
- Click “Inbound Rules” on the left-hand side menu, and then click “New Rule…” on the right-hand side menu
- Select rule type to be “Port”, set the port to 6000 and give it a good name. The rest of the settings should be good by default (TCP protocol & allowing all kinds of access)
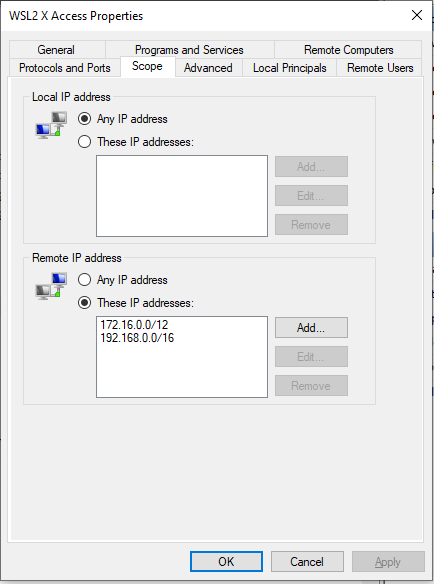
- Right click on the newly created rule in the rule list, select Properties and from there select Scope-tab. The limited scope prevents unwanted entities from exploiting the poor firewall’s new rule. Check the image below for Scope-settings:

And just like that, the firewall should allow the traffic from WSL2 to the X server. The X server that we haven’t even installed yet. I have been using VcXsrv X server, and the next step is downloading and installing it. After VcXsrv has been installed we can continue.
As briefly mentioned earlier, the access control needs to be disabled when launching the server to make things go smoothly. Just use -ac flag when launching the X server from the command line to disable access control. The full command to launch VcXsrv from a Windows terminal is:
vcxsrv.exe :0 -multiwindow -wgl -ac -silent-dup-error The first parameter sets the display number to zero, the second one allows multiple windows, the third one doesn’t seem to be necessary after a quick test but I’ll still leave it here because it was in the original post, the fourth parameter is the important one that disables the access control and the last one prevents errors if launching multiple VcXsrv-servers. After getting the server running we’re almost ready to get into the exciting world of graphic content. Open up a WSL session, and export the following two variables (in WSL terminal):
export DISPLAY=$(awk '/nameserver / {print $2; exit}' /etc/resolv.conf 2>/dev/null):0
export LIBGL_ALWAYS_INDIRECT=1
The first variable sets the display we want to use (basically WSL nameserver address and display 0) and the second variable should prevent skipping X server when calling draw commands. I’m not 100% what that means, but it sounds important so it’s better to set it.
And now, finally, we’re ready to check out the graphical interface! If you’ve closed your WSL session in the past two months it took me to write this second blog post, first head to your poky-folder and run source oe-init-build-env again. Then you should be able to run:
runqemu
#look, no no-graphic option this time, wowzers!
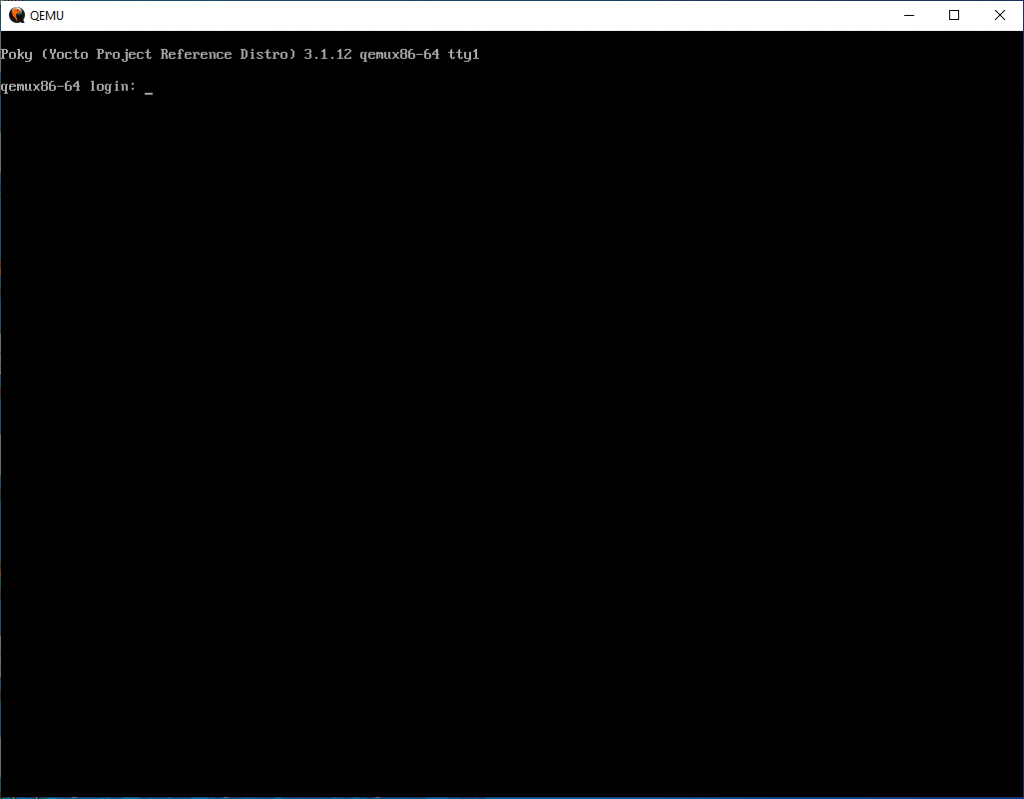
Well, the thing is that the core-image-minimal image we built in the previous blog post doesn’t have a graphical interface built. While technically this new window is a graphical, emulated window, it’s not a graphical user interface. To get an image with these capabilities, we need to build core-image-sato instead (sorry).

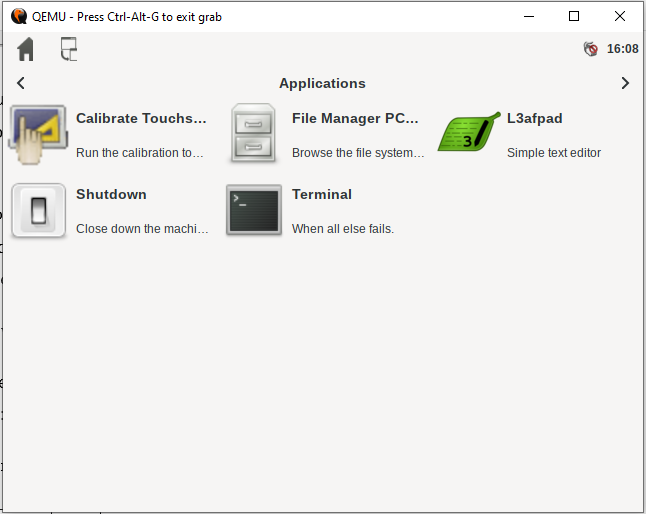
So yeah, navigate to your build-folder and run bitbake core-image-sato. Even though the build reuses some of the artifacts from the previous build this will take some time, so be prepared to find something else to do for a while. After the build has been completed, you should be able to run runqemu again, and see something like this:

The apparent problem is the quite significant latency introduced by QEMU, and running QEMU on top of the WSL doesn’t do the situation any favors. Technically you can run the image also on a Windows native QEMU, but I didn’t see any noticeable difference in the GUI performance. My method of analysis was not the most scientific one though: I just pressed a button and tried to internally analyze how frustrated I got before something happened in the GUI. With both WSL QEMU and Windows native QEMU I got “quite frustrated”, so I’d call it a tie.
I didn’t do any actual benchmarking on if there’s a difference in the computing performance, perhaps in some upcoming blog post I could write a bit about that. It seems like the Windows native QEMU lacks some options (I couldn’t get the networking working (more like notworking amirite)), so it may be better to stick to WSL QEMU.
That’s all for this time. Hopefully, you learned something from this post, I at least did. Once again big shout-out to Skeptric-blog, plenty of other interesting texts in there as well.
PS: I disabled the comments on this blog. It seems like the only ones writing those were freaky spambots. If you’ve got something to ask or say you can reach me on LinkedIn.


