
Lately, the blog posts here have been quite serious: TPMs, virtualization, integrity checks, etc. However, those things are not the best thing about computers.
Continue reading...Yocto Hardening: IMA and EVM

Let’s continue measuring where we left off, move from the bootloader side to the kernel world, and try out the IMA, integrity measurement subsystem in Linux.
Continue reading...Disabling Shell History File from BusyBox

Here are my tricks for disabling shell history files (~/.ash_history and ~/.hush_history) from BusyBox shells ash and hush.
Continue reading...Fuzzing Remote Targets with Syzkaller

This is the promised follow-up to my earlier Syzkaller text. This time I’ll show how to make Syzkaller work on an actual hardware that is not emulated.
Continue reading...Adding Key-Based SSH Authentication to Yocto

This text is supposed to be a quick crash course on the different keys used in SSH servers, and how to generate and use them in Yocto.
Continue reading...Fuzzing Yocto Kernel Modules with Syzkaller

As a follow-up to my black-box fuzzing text, I will present a more accurate approach to fuzzing using Syzkaller and grey-box fuzzing.
Continue reading...Raspberry Pi 4, LetsTrust TPM and Yocto
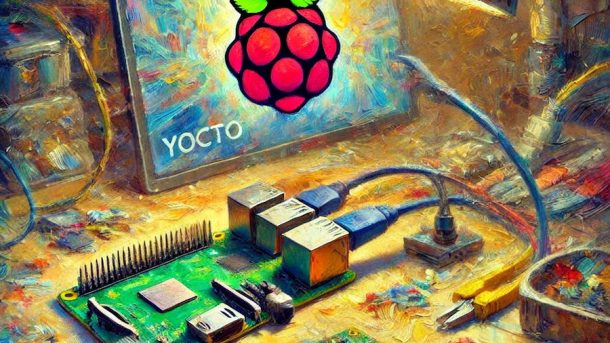
Getting LetsTrust TPM module working with Yocto was fairly simple but there were a few things I learned along the way that may be worth sharing.
Continue reading...Yocto Hardening: Measured Boot

So far we have mostly been focusing on hardening the kernel and userspace, but this time we will zoom out a bit and take a look at securing the entire system.
Continue reading...Making USB Device With STM32 + TinyUSB
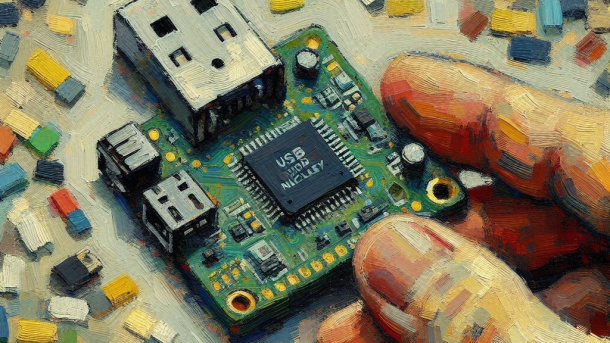
Have you ever wondered how USB devices are made? I sure have. Follow this tutorial to see how to create a simple USB device.
Continue reading...Black-Box Fuzzing Kernel Modules in Yocto

It’s been almost ten years since I wrote my thesis. It was about guided fuzz testing, and as usual, I have done no actual work related to the topic.
Continue reading...


